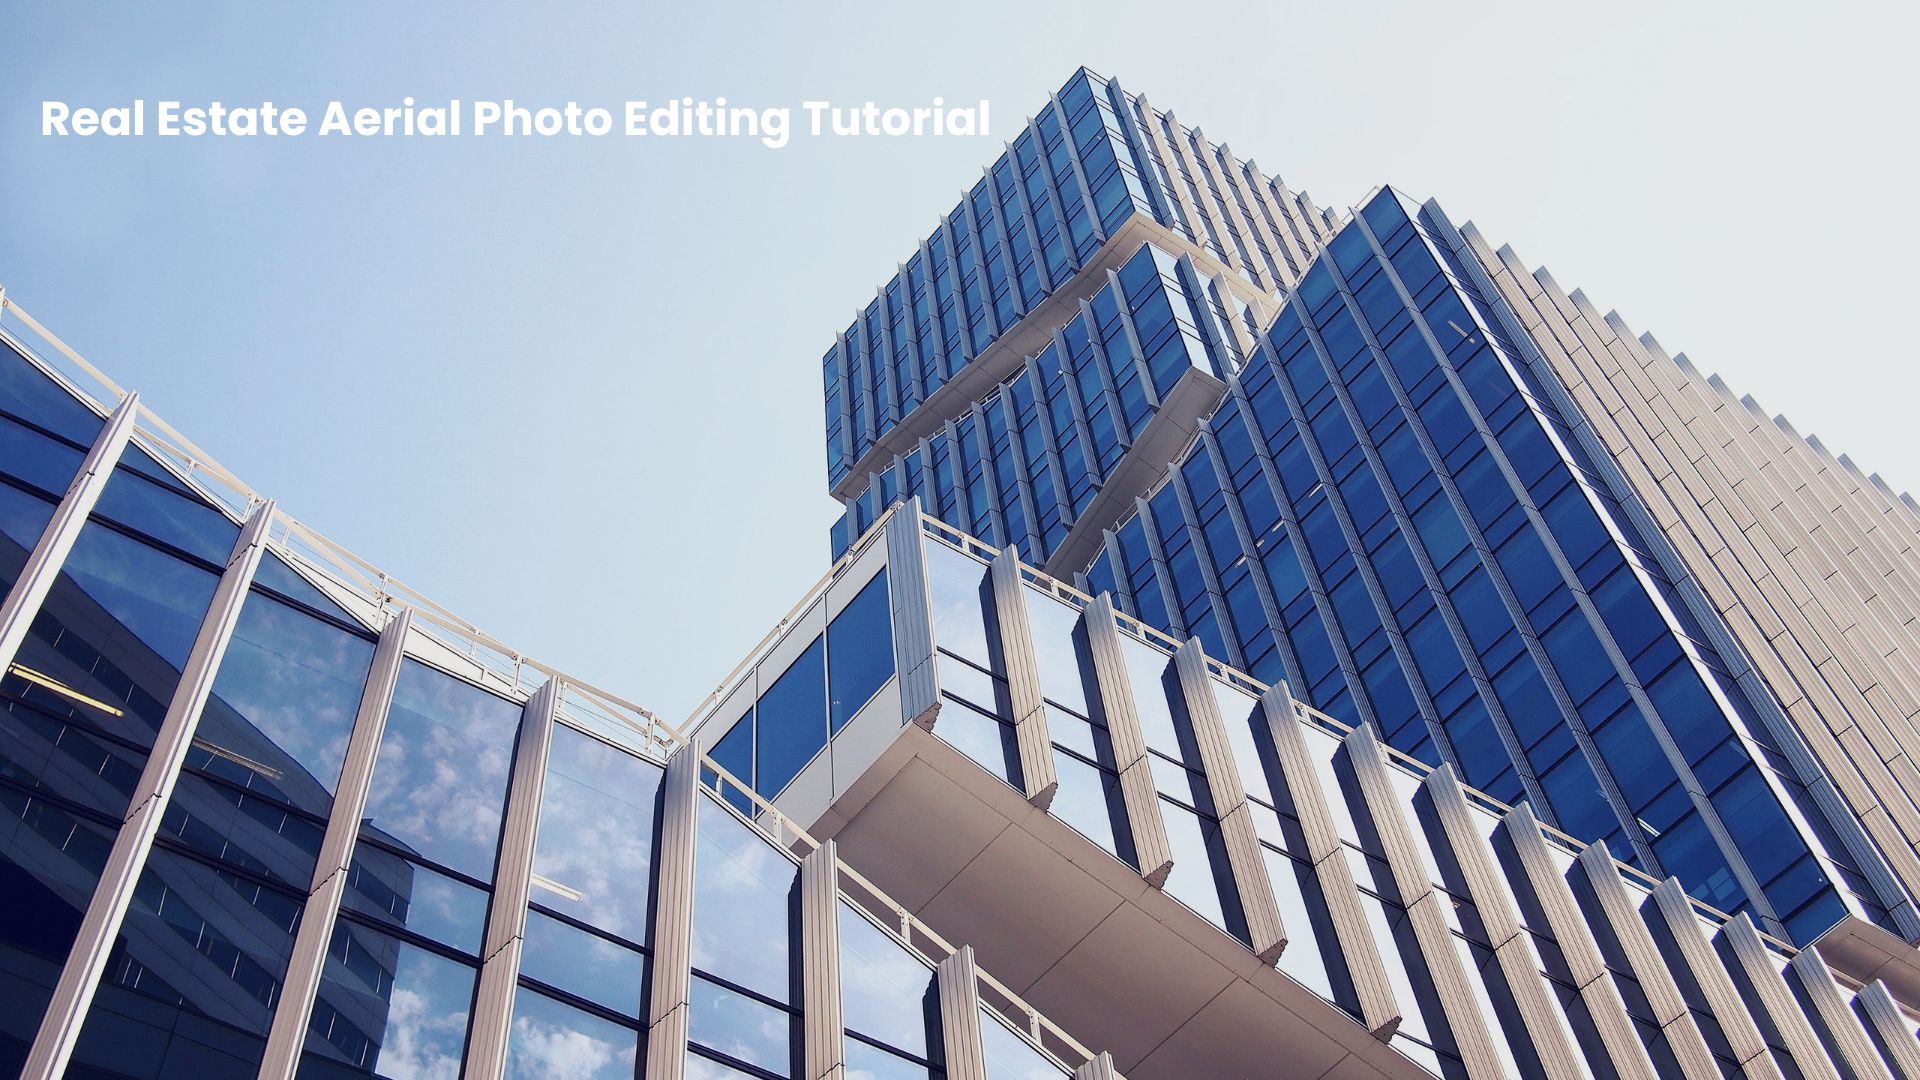
First impressions in real estate are everything – and nothing makes a stronger one than a stunning aerial shot. Whether you’re marketing a sprawling residential estate, a commercial plaza, or a master-planned community, drone imagery has become an indispensable part of the modern property presentation toolkit. But raw drone footage rarely tells the full story on its own. That’s where a solid Real Estate Aerial Photo Editing Tutorial becomes invaluable. Knowing how to transform a flat, overexposed, or cluttered aerial image into a polished marketing asset can be the difference between a listing that lingers and one that sells.
This guide walks you through the entire process – from understanding the right tools to mastering advanced retouching techniques – in a way that’s practical, actionable, and immediately applicable to your workflow.
Why Aerial Photo Editing Matters in Real Estate
Drone photography captures scale, context, and surroundings like no ground-level shot ever could. It shows proximity to parks, water bodies, roads, and commercial hubs – all of which are major buying triggers. But without proper editing, even the best drone imagery can fall flat due to harsh lighting, colour inconsistencies, distracting elements, or poor contrast.
Real estate professionals who invest in quality aerial editing gain a decisive competitive advantage. Listings with professionally edited aerial images consistently receive higher engagement, more inquiries, and faster closings. It’s not just aesthetics – it’s strategic marketing.
- Enhanced visual appeal draws more attention on listing platforms like Zillow, MagicBricks, or 99acres.
- Sky replacements and lighting corrections make properties look their absolute best regardless of shoot conditions.
- Clutter removal – vehicles, construction debris, shadows – ensures the property is the undisputed focal point.
- Colour grading creates a cohesive visual identity across an entire listing’s photo set.
Tools You’ll Need Before You Begin
Before diving into any Real Estate Aerial Photo Editing Tutorial, it’s essential to have the right software in your corner. The industry standard remains Adobe Lightroom for global adjustments and batch processing, paired with Adobe Photoshop for localised retouching and compositing. For those seeking more budget-friendly alternatives, Luminar Neo and Capture One are excellent options that offer AI-powered sky replacement and masking features.
Investing in a colour-calibrated monitor also pays dividends – what looks vibrant on an uncalibrated screen may appear dull or oversaturated on a client’s display, which can undermine the professionalism of your final output.
Real Estate Aerial Photo Editing Tutorial: Step-by-Step Process
Step 1 – Import and Initial Assessment
Begin by importing your RAW drone files into Lightroom. Always shoot in RAW format if your drone allows it – JPEG files discard significant tonal data that you’ll want to recover during the edit. Spend a minute assessing each shot for horizon alignment, composition, and overall exposure before making any adjustments.
Check for any obvious issues upfront: is the horizon tilted? Are there blown-out highlights in the sky? Is the property partially obscured by shadows? These observations will guide your editing priorities for each image.
Step 2 – Exposure and White Balance Correction
Aerial shots are notoriously tricky for exposure. The sky often renders much brighter than the landscape below, creating a challenging dynamic range situation. Start with a modest exposure reduction, then use the Highlights slider to pull back the sky and the Shadows slider to lift detail in darker ground areas.
White balance is equally critical. Drone sensors frequently produce a cool, bluish cast – particularly during overcast shoots. Nudge the Temperature slider warmer (toward the 5500-6500K range) to give the property a welcoming, sun-drenched feel that resonates emotionally with buyers.
Step 3 – Sky Replacement
This is arguably the most transformative step in any aerial editing workflow. A dull, grey sky can make even the most beautiful property look uninviting. Both Photoshop’s AI-powered Sky Replacement tool (Edit > Sky Replacement) and Luminar Neo’s Sky AI feature make this process remarkably intuitive.
Choose skies that feel seasonally appropriate and geographically plausible. A blazing orange sunset over a monsoon-prone region may look dramatic but will raise red flags with informed buyers. Opt for clean blue skies with soft, scattered clouds – timeless, trustworthy, and universally appealing for real estate contexts.
After replacing the sky, use the Foreground Lighting adjustment within the tool to ensure the property’s lighting direction matches the new sky, maintaining visual realism.
Step 4 – Object and Distraction Removal
Here’s where Photoshop’s healing and cloning tools come into their own. Common distractions in aerial property shots include parked vehicles, rubbish bins, construction materials, temporary signage, and unsightly shadows from the drone itself.
- Use the Content-Aware Fill tool for larger areas like vehicles or pools of shadow.
- The Clone Stamp tool works well for smaller, repetitive textures like roof tiles, grass, or paving.
- For complex backgrounds, the Patch tool gives you more control over what the replacement area samples from.
The goal is to create a clean, distraction-free composition where the viewer’s eye travels naturally to the property itself – not to the neighbour’s illegally parked truck.
Step 5 – Colour Grading and Vibrancy Tuning
Once structural corrections are done, colour grading adds the finishing layer of polish. Real estate aerial images typically benefit from a slight boost in Vibrance (not Saturation – Vibrance is more subtle and selective), which enriches the greens of lawns, the blues of pools, and the warm tones of brick or terracotta roofing without oversaturating skin tones or signage.
Use the HSL (Hue, Saturation, Luminance) panel in Lightroom to fine-tune individual colours. Pulling up the Luminance of greens can make surrounding vegetation look lush and well-maintained, adding perceived value to the property and its surroundings.
Step 6 – Sharpening, Noise Reduction, and Final Export
Apply sharpening carefully – drone images at high altitudes sometimes suffer from atmospheric haze or mild motion blur. Use a moderate Amount (around 40–60) with a high Masking value (hold Alt while dragging to preview what’s being sharpened). This ensures sharpening is applied selectively to edges rather than introducing grain into flat areas like rooftops or roads.
For noise reduction, particularly in images shot in low-light conditions or at high ISO, Lightroom’s AI-powered Denoise feature (introduced in recent versions) delivers excellent results while preserving fine detail. Export final images as high-quality JPEGs at 300 DPI for print and 96 DPI at 2048px wide for web listings.
Read Also- Real Estate Aerial Photo Editing Trends Every Photographer Should Know in 2026
When to Consider Professional Real Estate Aerial Photo Editing Services
Not every real estate professional has the time – or inclination – to master editing software. And that’s perfectly fine. Partnering with a reliable provider of Real Estate Aerial Photo Editing Services can free up your time while ensuring consistently high-quality output across every listing.
When evaluating a Real Estate Aerial Photo Editing Company, look beyond price. Turnaround time, revision policies, data security (particularly important for pre-launch developments), and portfolio consistency are all factors that matter. A good editing partner should feel like an extension of your own team – understanding your brand standards and delivering images that align with your marketing vision every single time.
For high-volume agencies, developers managing multiple sites, or colonizers launching new phases of residential projects, outsourcing Real Estate Aerial Image Editing Services is not just a convenience – it’s a scalable business strategy that supports faster go-to-market timelines without compromising visual quality.
Pro Tips to Get the Most from Your Aerial Edits
- Shoot during the golden hour – the hour after sunrise or before sunset delivers warm, directional light that flatters virtually any property and reduces the need for extensive colour correction.
- Create Lightroom presets for your most common adjustments so you can apply a consistent baseline edit to every aerial image in seconds.
- Always keep a backup of the original RAW file – editing decisions that look great today may need revisiting when market trends shift or a client requests a style change.
- Use layer masks liberally in Photoshop – destructive edits are the enemy of flexibility. Non-destructive workflows using adjustment layers and masks let you iterate quickly without starting over.
- Context matters – when editing, always consider what the surrounding environment communicates. A beautifully edited property surrounded by visibly industrial land may need strategic cropping or framing adjustments to tell the best story.
Real Estate Aerial Photo Editing Tutorial: Common Mistakes to Avoid
Even experienced editors stumble into habits that undermine the realism and professionalism of their work. Here are the pitfalls most worth avoiding in any Real Estate Aerial Photo Editing Tutorial context:
- Over-saturating colours – images that look artificially vivid erode buyer trust and can lead to disappointment upon site visits.
- Inconsistent lighting direction – particularly after sky replacements, mismatched light sources instantly read as fake to trained eyes.
- Removing too much – editing out a nearby road, railway, or commercial building that’s clearly visible from the property is misleading and can create legal exposure.
- Neglecting horizon straightening – a tilted horizon looks careless and unprofessional, particularly on wide-angle aerial compositions.
- Exporting at low resolution – real estate images are often used across print brochures, hoardings, and digital platforms simultaneously. Always export at the highest resolution appropriate for your use case.
Conclusion
Aerial photography has fundamentally changed how properties are marketed – and editing is what separates a good drone shot from a truly compelling one. Whether you’re handling the process in-house or working with a professional Real Estate Aerial Photo Editing partner, the principles remain consistent: correct first, enhance second, and always keep the buyer’s perception front and centre.
The investment of time and skill in mastering real estate aerial photo editing pays dividends across every listing, every campaign, and every client relationship. In a market where visual first impressions often determine whether a buyer books a site visit or scrolls past, this is one area where cutting corners simply isn’t worth it.
Apply the techniques covered in this guide, stay consistent, and don’t be afraid to seek professional support when the volume demands it. The result will be a visual portfolio that doesn’t just showcase properties – it makes people fall in love with them.
Frequently Asked Questions (FAQs)
1. What software is best for real estate aerial photo editing?
Adobe Lightroom is the go-to tool for global adjustments, white balance correction, and batch processing. Adobe Photoshop is ideal for advanced tasks like sky replacement, object removal, and compositing. For users wanting AI-powered alternatives, Luminar Neo offers powerful, beginner-friendly features specifically useful for real estate aerial imagery.
2. Is sky replacement in aerial real estate photos considered ethical?
Yes, sky replacement is widely accepted and practiced in real estate photography, provided the edited image does not misrepresent the property’s actual surroundings, location, or condition. The intent is to present the property in its best possible light – not to deceive buyers about material facts. Replacing a genuinely grey sky with a sunny one is considered standard marketing practice.
3. How long does it typically take to edit an aerial real estate photo?
For a skilled editor working in Lightroom and Photoshop, a single aerial image requiring standard corrections (exposure, colour, minor cleanup) typically takes 15–30 minutes. More complex edits involving sky replacement, significant object removal, or advanced compositing can take 45–90 minutes per image. Professional editing services often offer 24–48 hour turnaround times for standard volumes.
4. When should a real estate developer outsource aerial photo editing instead of doing it in-house?
Outsourcing makes sense when you’re managing high volumes of listings simultaneously, when your internal team lacks advanced editing skills, or when fast turnaround is essential for a campaign launch. A professional Real Estate Aerial Photo Editing Company can handle large batches with consistent quality, allowing your internal team to focus on client relationships and business development instead.
5. What resolution should final edited aerial images be exported at for real estate listings?
For web-based listings and social media, export at 72–96 DPI with a maximum width of 2048–3000 pixels. For print materials such as brochures, hoardings, and developer prospectuses, export at 300 DPI at the required physical dimensions. Always retain the full-resolution master file for future use, as requirements often change across different marketing channels.