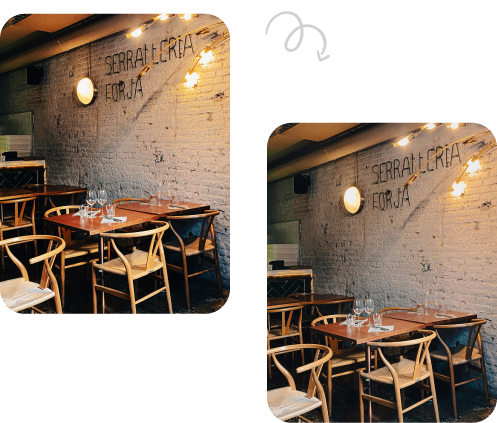
In the competitive world of real estate, stunning visuals are king. And when it comes to capturing the true essence of a property, color correction plays a crucial role. A poorly color-corrected photo can make even the most beautiful space seem dull, cramped, or uninviting. So, how do you turn drab to fab and make your real estate photos shine? Let’s explore the color correction tools and techniques that will transform your images and attract potential buyers.
First Things First: The Basics
- White Balance: Is your photo leaning too yellow or blue? Adjust the white balance to ensure neutral whites, making the space feel clean and bright.
- Brightness and Contrast: Don’t be afraid to add a touch of brightness to open up the space and enhance details. But be mindful of overdoing it, as excessive brightness can wash out colors. Contrast can add depth and drama, but use it sparingly to avoid harsh shadows.
- Vibrance and Saturation: Boosting vibrance can breathe life into your photos without oversaturating colors. However, keep saturation in check, as excessively vibrant colors can look unrealistic and detract from the natural beauty of the space.
Ready to up your real estate game? 🏠💰 Enhance every property’s potential with our professional real estate photo editing services. Say goodbye to misleading photos and hello to stunning, true-to-life visuals that attract buyers. #PropertyPhotoEditing #RealEstateMarketing
Beyond the Basics: Advanced Techniques
- Curves: Master the magic of curves to fine-tune specific color channels and achieve precise adjustments. This lets you tackle issues like unwanted color casts or overly dominant hues.
- Selective Color Adjustments: Want to brighten the windows while leaving the fireplace warm? Selective color adjustments let you target specific areas of the image for more nuanced control.
- Noise Reduction: Grainy photos can kill the charm of any image. Noise reduction tools help smooth out unwanted specks and noise, ensuring crisp and professional-looking photos.
Tools of the Trade:
- Adobe Lightroom: A popular choice for photographers and real estate professionals alike, Lightroom offers a user-friendly interface and powerful tools for color correction.
- Photoshop: More advanced users can dive into Photoshop for pixel-level control and advanced editing techniques.
- Presets: Save time and ensure consistency with pre-made color correction presets designed specifically for real estate photography.
Remember:
- Calibration is Key: Ensure your monitor is properly calibrated to display colors accurately before editing.
- Subtlety is King: Avoid over-editing! Aim for natural-looking results that enhance the space without feeling artificial.
- Consider Your Audience: Different online platforms might display colors slightly differently. Test your edits on various platforms to ensure consistency.
By mastering the art of color correction, you can transform your real estate photos from ordinary snapshots to vibrant, inviting masterpieces that capture the true essence of a property and leave potential buyers eager to step inside. So, grab your favorite editing software, embrace the magic of color, and watch your listings come alive!
We hope this helps you master the art of color correction and make your real estate photos shine!


