Buyers don’t just look at properties anymore; they experience them, and this is the truth. A well-crafted video can make someone feel the sunlight in the living room or imagine their morning coffee on the balcony. That’s the power of cinematic real estate videos. But one question that pops up in everyone’s mind is how to create cinematic Real Estate videos Using Simple Tools.
The good news? You don’t need expensive cameras or a full production team to achieve this. With the right approach and a few accessible tools, real estate developers, agents, and builders can produce high-quality visuals that compete with professional Real Estate Video Editing Services. Let’s break down how you can do it- step by step, without overcomplicating the process.
Let’s start.
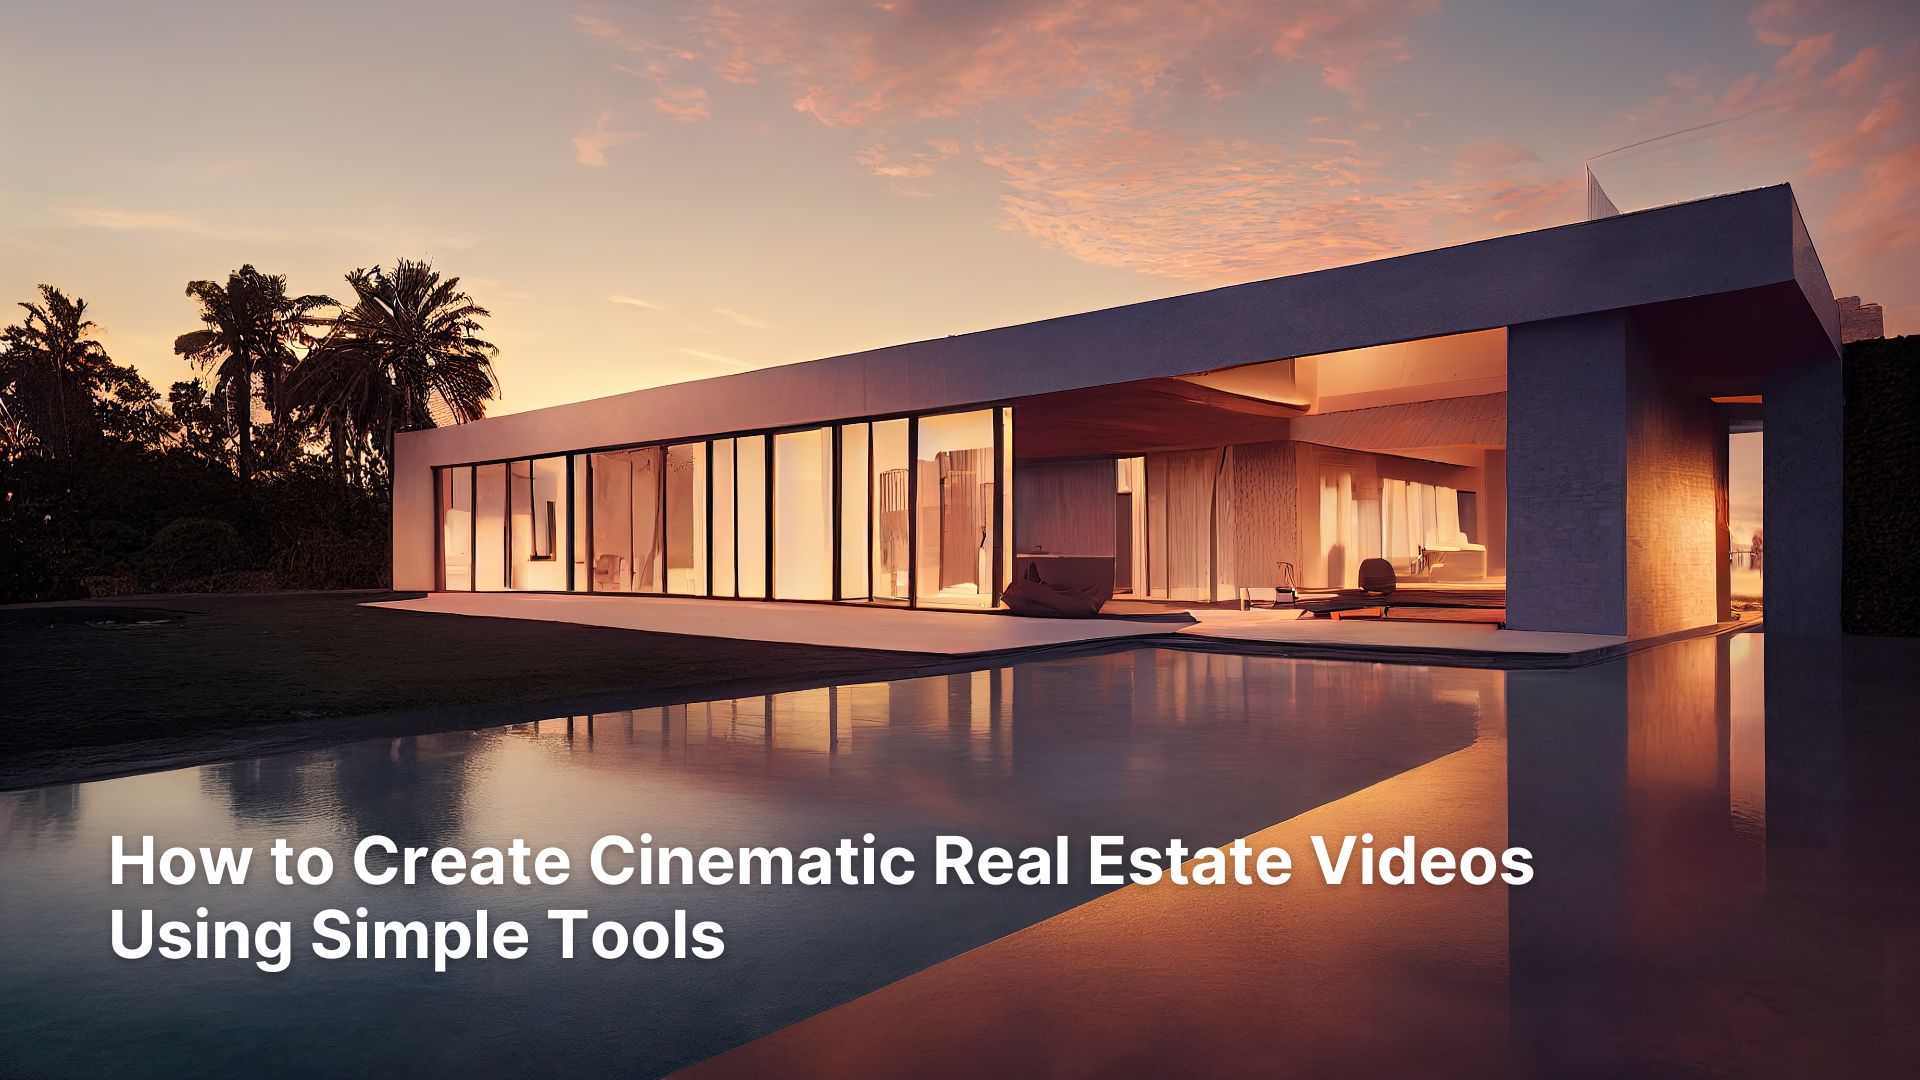
How to Create Cinematic Real Estate Videos Using Simple Tools
Real Estate Video is all about getting attention, and with the right practice, you can win the race. Here is how to create cinematic real estate videos using simple tools.
Understand What “Cinematic” Really Means
Cinematic doesn’t mean flashy effects or dramatic music. It’s about storytelling, smooth motion, balanced lighting, and intentional composition. The goal is to guide the viewer through a property as if they were walking through it themselves.
Think of it this way: instead of just showing rooms, you’re creating a visual journey. Each shot should have a purpose- highlighting space, design, or lifestyle. This mindset alone can elevate your Real Estate Video Editing approach significantly.
Choose Simple Yet Effective Tools
You don’t need a Hollywood setup. Most modern smartphones and entry-level cameras are more than capable of shooting high-quality video.
Here are a few essentials:
- A smartphone with 4K video capability
- A tripod or gimbal for stability
- A wide-angle lens attachment (optional but useful)
- Basic lighting (even natural light works beautifully)
Stability is non-negotiable. Shaky footage instantly reduces perceived property value. A simple tripod can make your video feel like it came from a professional Real Estate Video Editing Company.
Plan Your Shots Before You Shoot
Walking into a property and shooting randomly rarely works. Planning saves time and ensures consistency.
Start with:
- A shot list (entrance, living room, kitchen, bedrooms, amenities)
- A logical flow (how a person would walk through the home)
- Key highlights (views, design features, natural light)
This approach ensures your final video feels cohesive rather than scattered. It also makes editing much easier, especially if you’re handling Real Estate Video Editing yourself.
Use Natural Light to Your Advantage
Lighting can make or break your video. The best part? You don’t need expensive lighting kits.
Shoot during:
- Early morning or late afternoon (golden hours)
- Bright daytime with curtains open
- Avoid harsh midday shadows when possible
Turn on indoor lights to create warmth and depth. A well-lit space feels larger, cleaner, and more inviting- exactly what buyers want to see.
Read Also- Top 10 Real Estate Video Editing Trends for 2026
Master Smooth Camera Movements
Cinematic videos rely heavily on motion. Static shots feel lifeless, while smooth movement adds depth and engagement.
Try these techniques:
- Slow forward walk-ins (push shots)
- Side-to-side slides
- Gentle pans across rooms
- Reveal shots (entering a room from behind a wall or door)
The key is slow and controlled movement. Even with basic tools, these techniques can make your video feel like it was produced by high-end Real Estate Video Editing Services.
Frame Your Shots Like a Pro
Composition is where many beginners struggle, but small adjustments make a big difference.
Follow these principles:
- Use the rule of thirds
- Keep lines straight (walls, doors, windows)
- Avoid clutter in the frame
- Shoot from waist to chest height for a natural perspective
Clean, balanced framing instantly elevates the perceived quality of your property and aligns with professional Real Estate Video Editing standards.
Capture Lifestyle, Not Just Space
Modern buyers aren’t just purchasing a property- they’re buying a lifestyle.
Include shots like:
- Sunlight hitting the dining table
- Curtains flowing near a window
- Balcony views with subtle motion
- Close-ups of textures (wood, marble, fixtures)
These details create emotion. And emotion is what drives decisions in real estate marketing.
Edit Smart, Not Complicated
Editing is where everything comes together. You don’t need advanced software- tools like CapCut, iMovie, or Adobe Premiere Rush are more than enough.
Focus on:
- Trimming unnecessary clips
- Maintaining a smooth flow
- Keeping video length between 60-120 seconds
- Using simple transitions (avoid overuse)
A clean, well-paced edit often outperforms overly complex edits. This is where many Real Estate Video Editing Company workflows keep things intentionally minimal.
Use Color Correction for a Cinematic Look
Color grading might sound technical, but basic adjustments can transform your footage.
Adjust:
- Brightness and contrast
- White balance (to avoid yellow or blue tint)
- Saturation for realistic colors
Aim for a natural, slightly warm tone. Over-editing can make properties look unrealistic, which can hurt buyer trust.
Read Also- Real Estate Video Editing Tutorial: A Step-by-Step Guide for Professionals
Add Music That Enhances the Mood
Music plays a subtle but powerful role. It sets the tone and keeps viewers engaged.
Choose:
- Soft instrumental tracks
- Calm, ambient music
- Light piano or acoustic sounds
Avoid loud or distracting music. The goal is to support the visuals, not overpower them.
Keep Videos Short and Impactful
Attention spans are short, especially online. A long video doesn’t mean a better video.
Ideal length:
- 60-90 seconds for social media
- Up to 2 minutes for detailed listings
Focus on quality over quantity. Highlight the best features and keep the viewer engaged from start to finish.
Optimize for Multiple Platforms
Your video isn’t just for one place. It should work across platforms like YouTube, Instagram, property portals, and websites.
Make sure to:
- Export in high resolution (at least 1080p)
- Use vertical or square formats for social media
- Add captions if needed
This ensures your Real Estate Video Editing efforts deliver maximum reach and engagement.
When to Consider Professional Help
Sometimes, outsourcing makes sense-especially for high-value properties or large-scale projects.
A professional Real Estate Video Editing Company can help with:
- Advanced color grading
- Drone footage integration
- High-end cinematic transitions
- Faster turnaround times
If your goal is premium branding, investing in Real Estate Video Editing Services can significantly elevate your marketing.
Conclusion
In this article, how to create cinematic real estate videos using simple tools, we have discussed many important things related to video editing. Creating cinematic real estate videos isn’t about expensive gear or complicated editing. It’s about intention, storytelling, and consistency.
With simple tools, thoughtful planning, and a focus on quality, you can produce videos that capture attention and drive real results. What this really means is- you’re not just showcasing properties anymore. You’re creating experiences that sell.
Start small, refine your process, and keep improving. The results will speak for themselves.
FAQs: Create Cinematic Real Estate Videos
1. Do I need a professional camera for real estate videos?
No, most modern smartphones can shoot in 4K and deliver excellent results. With proper lighting and stabilization, smartphone footage can look highly professional and suitable for real estate marketing.
2. What is the ideal length for a real estate video?
The ideal length is between 60 to 120 seconds. Shorter videos perform better on social media, while slightly longer ones work well for detailed property listings.
3. Which software is best for Real Estate Video Editing?
Beginner-friendly tools like CapCut, iMovie, and Adobe Premiere Rush are excellent. They offer enough features to create cinematic videos without overwhelming complexity.
4. Should I hire Real Estate Video Editing Services?
If you’re handling high-end listings or want a premium brand image, hiring professionals can be a smart move. They bring expertise, efficiency, and advanced editing techniques.
5. How can I make my videos look more cinematic?
Focus on smooth camera movement, proper lighting, clean composition, and simple editing. Adding subtle music and color correction can also significantly enhance the overall cinematic feel.