In today’s digital age, the first impression of a property usually happens online. Whether someone’s browsing through property listings or checking out homes on Instagram, great photos make all the difference. That’s why editing real estate photos is such an essential step in the marketing process.
If you’re a real estate photographer, an agent who shoots their own listings, or just someone wanting to improve your property shots – this guide is for you. Let’s break down how to edit real estate photos like a pro, even if you’re just starting out.
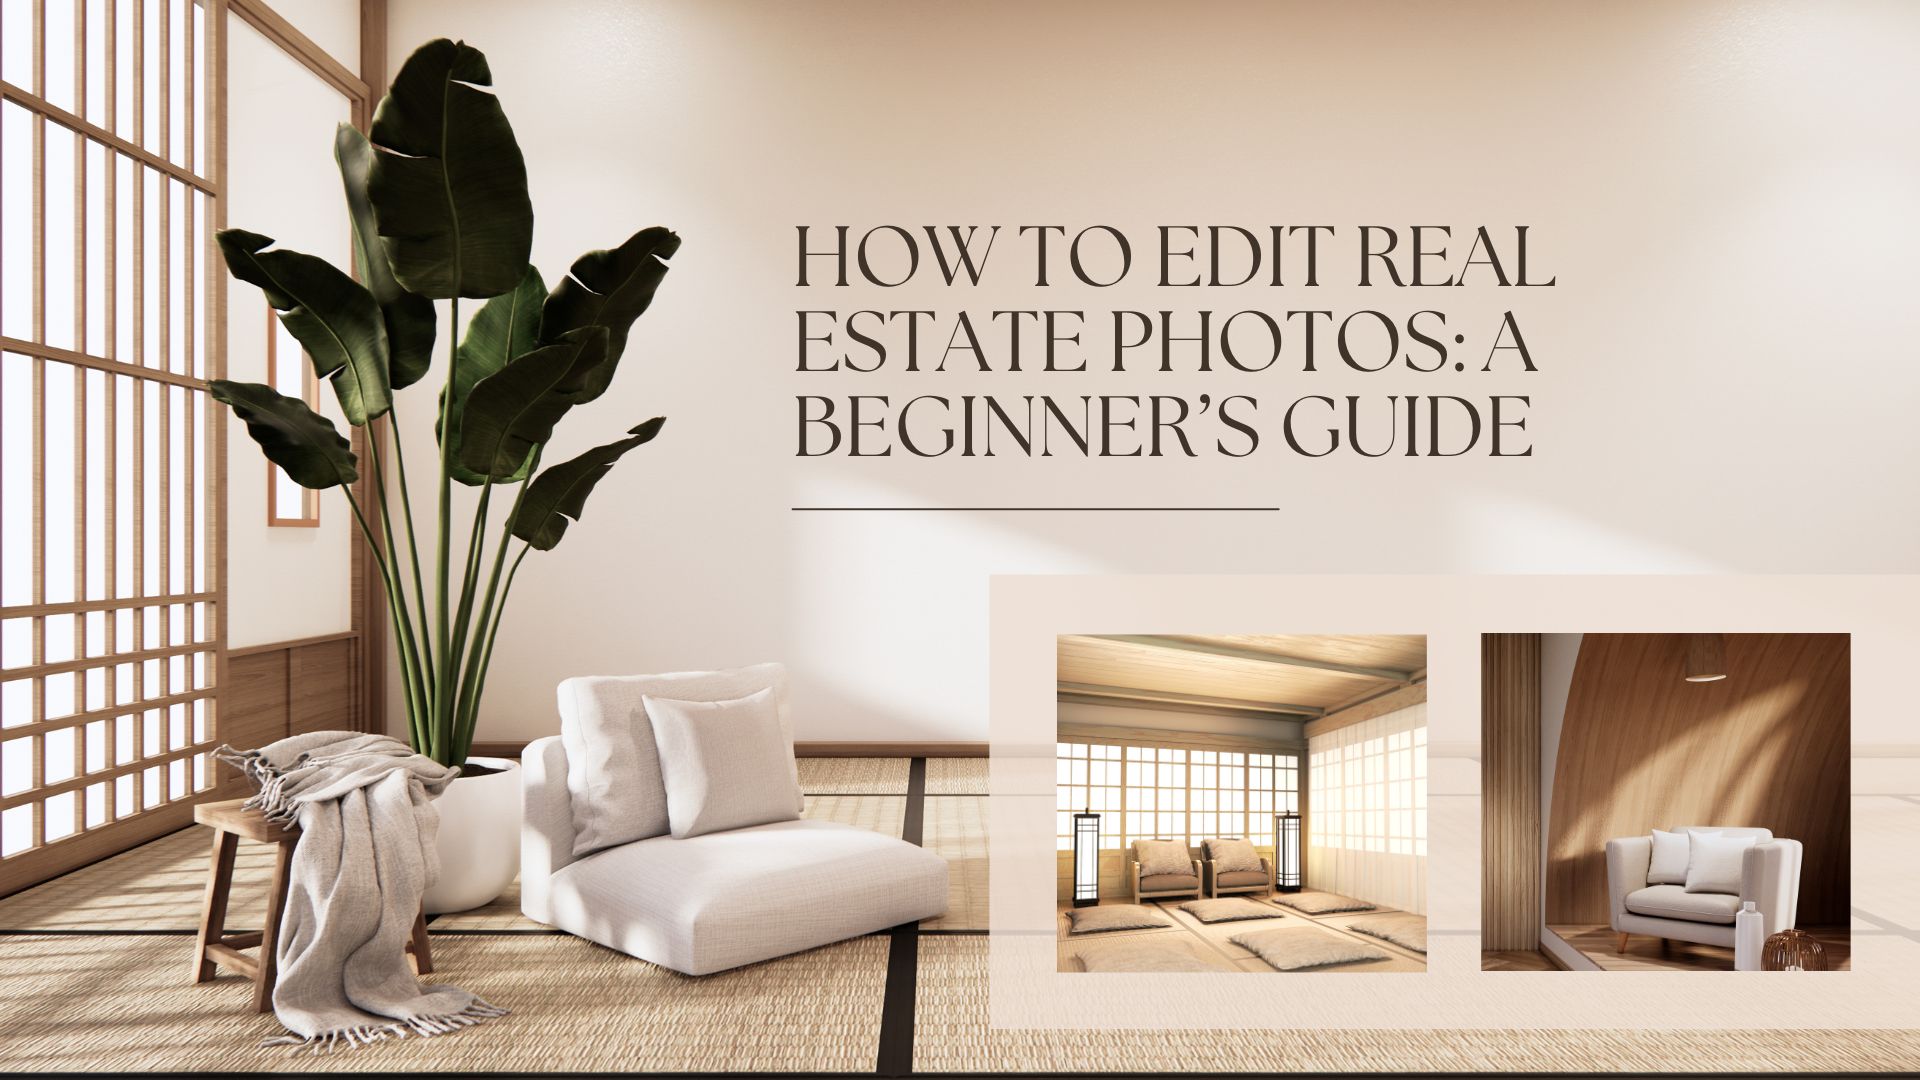
Explore our Real Estate Photo Editing services to make your property stand out.
Why Is Real Estate Photo Editing Important?
Before we jump into the “how,” let’s understand the “why.”
Raw photos often don’t do justice to a property. Lighting can be uneven, colors may appear dull, and minor flaws may distract potential buyers. Good editing can:
-
Enhance brightness and clarity
-
Correct color balance
-
Remove unwanted objects or distractions
-
Highlight the property’s best features
-
Make interiors look warm and inviting
-
Bring skies and outdoor areas to life
The goal of editing isn’t to deceive – it’s to present the property at its best, just like staging a home for an open house.
Step-by-Step: How to Edit Real Estate Photos
1. Choose the Right Software
The most popular tools for editing real estate photos include:
-
Adobe Lightroom (for batch editing and color correction)
-
Adobe Photoshop (for advanced edits like object removal)
-
Luminar Neo (AI-powered and beginner-friendly)
-
Photomatix (great for HDR blending)
-
Snapseed or Lightroom Mobile (for quick mobile edits)
If you’re just starting, Lightroom is a great place to begin – it’s user-friendly and powerful.
2. Start with Basic Adjustments
After importing your photos, always start with the basics:
Exposure:
Make sure the image isn’t too dark or too bright. Adjust the exposure slider to balance out the lighting.
Contrast:
Adding a little contrast helps the image pop and brings out detail.
Highlights and Shadows:
Pull down the highlights to recover bright areas like windows, and lift the shadows to bring detail back into darker corners.
White Balance:
Adjust the temperature and tint to get natural-looking colors. You want whites to look white, not yellow or blue.
3. Crop and Straighten
One of the most overlooked edits is simply straightening the photo. Use the crop and rotate tools to:
-
Straighten crooked images
-
Align vertical lines (especially walls and door frames)
-
Crop out unnecessary elements
Tip: Make sure your vertical lines are really vertical – slanted walls can subconsciously make a room feel “off.”
4. Use HDR for Balanced Lighting
HDR (High Dynamic Range) is a technique where multiple exposures of the same photo are blended together. This is super useful in real estate, especially for interior shots where the window is too bright and the room is too dark.
HDR brings out details in both the shadows and highlights, resulting in a balanced image. Most editing software supports HDR blending, or you can use apps like Photomatix or Aurora HDR.
5. Color Correction
Sometimes, walls might look a bit too yellow or too green. Use color correction tools to fix this. Keep colors neutral and realistic – over-saturation can make things look fake.
Fix color casts from different light sources (like warm indoor bulbs and cool daylight from windows) by fine-tuning the white balance and individual color channels.
6. Add Clarity and Sharpness
Add a little clarity to bring out textures, especially in floors, furniture, and walls. Be careful not to overdo it – too much clarity can make images look harsh.
Also, gently sharpen the image to bring out details, especially if the original photo looks soft.
7. Remove Distractions
Sometimes there are things in the photo that don’t help – wires, stains, reflection of the photographer in mirrors, or even garbage bins outside.
Photoshop’s Clone Stamp or Healing Brush tools are great for removing these distractions. For beginners, tools like Luminar’s AI Erase feature can automate the process with a single click.
8. Enhance the Sky and Greenery
A dull sky can make the exterior look flat. Replace it with a vibrant blue sky using Photoshop or AI tools like Luminar. Just make sure it still looks natural.
Also, boost the green in grass and trees just a bit to make exteriors feel fresh and alive. Again, subtlety is key!
9. Window Masking (For Interiors)
This is a more advanced technique but very useful: If you’ve taken bracketed exposures, you can mask in the correct exposure for windows so the outside view isn’t blown out. It makes interiors look polished and professional.
10. Save and Export Correctly
Once you’re happy with your edits:
-
Save your images in high-resolution JPEG format
-
Use the sRGB color space for online platforms
-
Keep the file size under control for faster loading on websites
Read Also- How Shadow Removal Editing Transforms Real Estate Photography?
Pro Tips for Better Real Estate Photo Editing
-
Always shoot in RAW: It gives you more flexibility during editing.
-
Batch edit when possible: Save time by applying the same settings to multiple photos in Lightroom.
-
Avoid heavy filters: Real estate photos should look clean and natural.
-
Keep edits consistent: Make sure all photos from the listing have a uniform look and feel.
-
Test different light levels: Try both daytime and twilight edits for stunning variety.
Final Thoughts
Editing real estate photos might sound technical, but once you get the hang of the basics, it becomes a creative and rewarding part of the process. You’re not just tweaking images – you’re helping someone fall in love with a potential home.
Whether you’re using professional tools or free editing apps, the goal remains the same: present the property in the best possible light – literally and visually. So grab your camera, start editing, and bring those beautiful homes to life.
FAQs: How to Edit Real Estate Photos
Q1. Why should I edit real estate photos?
Editing helps improve lighting, color balance, and overall image quality to make properties look more appealing to potential buyers online.
Q2. What software is best for editing real estate photos?
Adobe Lightroom and Photoshop are industry favorites. Beginners can also use tools like Luminar Neo or Snapseed for simpler edits.
Q3. Can I edit real estate photos on my phone?
Yes! Apps like Lightroom Mobile and Snapseed let you make quick and effective edits right from your phone.
Q4. Is it okay to replace the sky in real estate photos?
Yes, replacing a dull sky with a bright, realistic one is common – just ensure it still looks natural and true to the location.