In the digital age, where online property listings have become the norm, captivating photographs play a crucial role in attracting potential buyers or renters. However, capturing stunning images straight out of the camera is not always possible. That’s where property photo editing comes in. With the right techniques and tools, you can enhance your property photos and make them more appealing and professional-looking. In this article, we will share some valuable tips and tricks to help you achieve exceptional results in property photo editing.
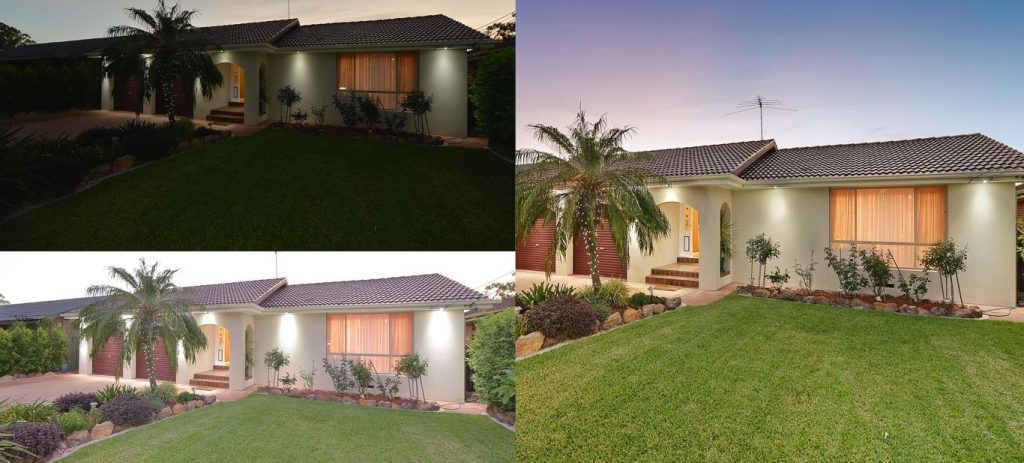
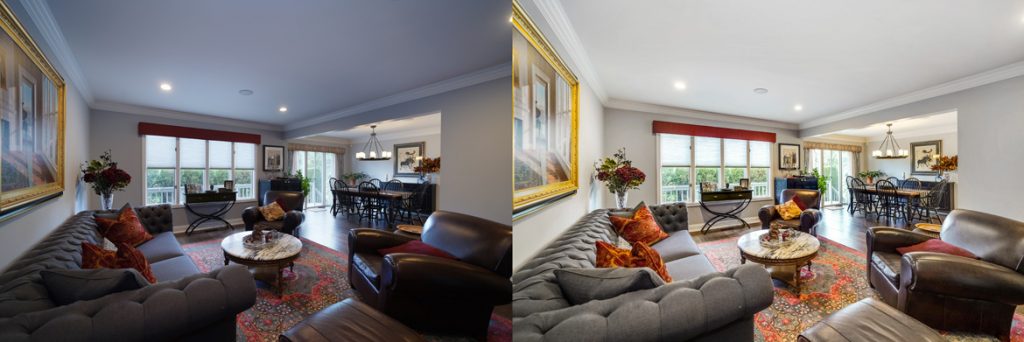
Correct Exposure and White Balance: One of the primary tasks in property photo editing is to ensure proper exposure and white balance. Correcting exposure issues will enhance the overall brightness and contrast of the image, making it more visually appealing. Adjusting the white balance will ensure that the colors in your photos appear natural and accurate. Utilize software like Adobe Lightroom or Photoshop to fine-tune these settings.
Straighten and Crop: Straightening and cropping your property photos can significantly improve their composition and overall aesthetic appeal. Straighten any skewed lines or horizons to create a balanced and professional look. Additionally, cropping can remove unnecessary distractions and focus the viewer’s attention on the property’s key features. Maintain a standard aspect ratio for consistency across your listing.
Remove Unwanted Objects: During the photo shoot, it’s not uncommon for unwanted objects or distractions to find their way into the frame. In post-processing, use the clone stamp or healing brush tool to remove these elements seamlessly. Erasing unwanted objects will enhance the cleanliness and attractiveness of the property, allowing potential buyers or renters to envision themselves in the space more easily.
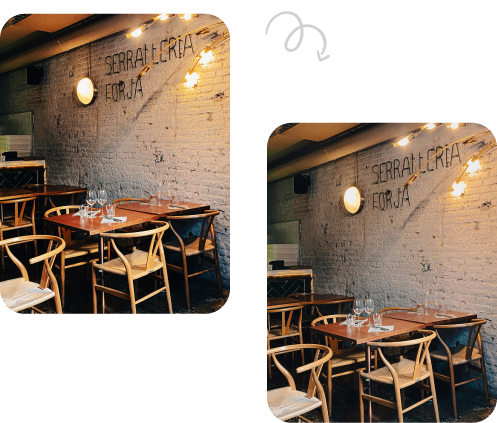
Enhance Colors and Saturation: Boosting the colors and saturation in your property photos can make them more vibrant and appealing. However, it’s crucial to strike a balance and avoid going overboard with the adjustments. Aim for natural-looking enhancements that bring out the best in the property’s features. Adjust the saturation and vibrance sliders in your editing software to achieve the desired effect.
Enhance Details with Sharpening: To make your property photos appear sharper and more refined, apply selective sharpening techniques. This will enhance the details and textures of the property, making it more visually engaging. Be mindful of not oversharpening, as it can introduce unwanted artifacts. Use localized sharpening tools or filters in your editing software to selectively sharpen the areas that require it.
HDR Blending for Dynamic Range: In situations where the property has a wide range of light and dark areas, creating an HDR (High Dynamic Range) image can be beneficial. HDR blending involves capturing multiple exposures of the same scene and merging them to achieve a balanced and well-exposed final image. This technique helps retain details in both bright and shadowed areas, resulting in a more visually pleasing photograph.
Conclusion: Property photo editing is a valuable skill that can elevate the visual appeal of your property listings. By applying these tips and tricks, you can transform your raw images into stunning, professional-quality photographs. Remember to maintain a balance between enhancements and naturalness, as potential buyers or renters appreciate accurately represented properties. With practice and attention to detail, your property photos will stand out, captivating viewers and increasing the chances of attracting interested parties to your listings.


