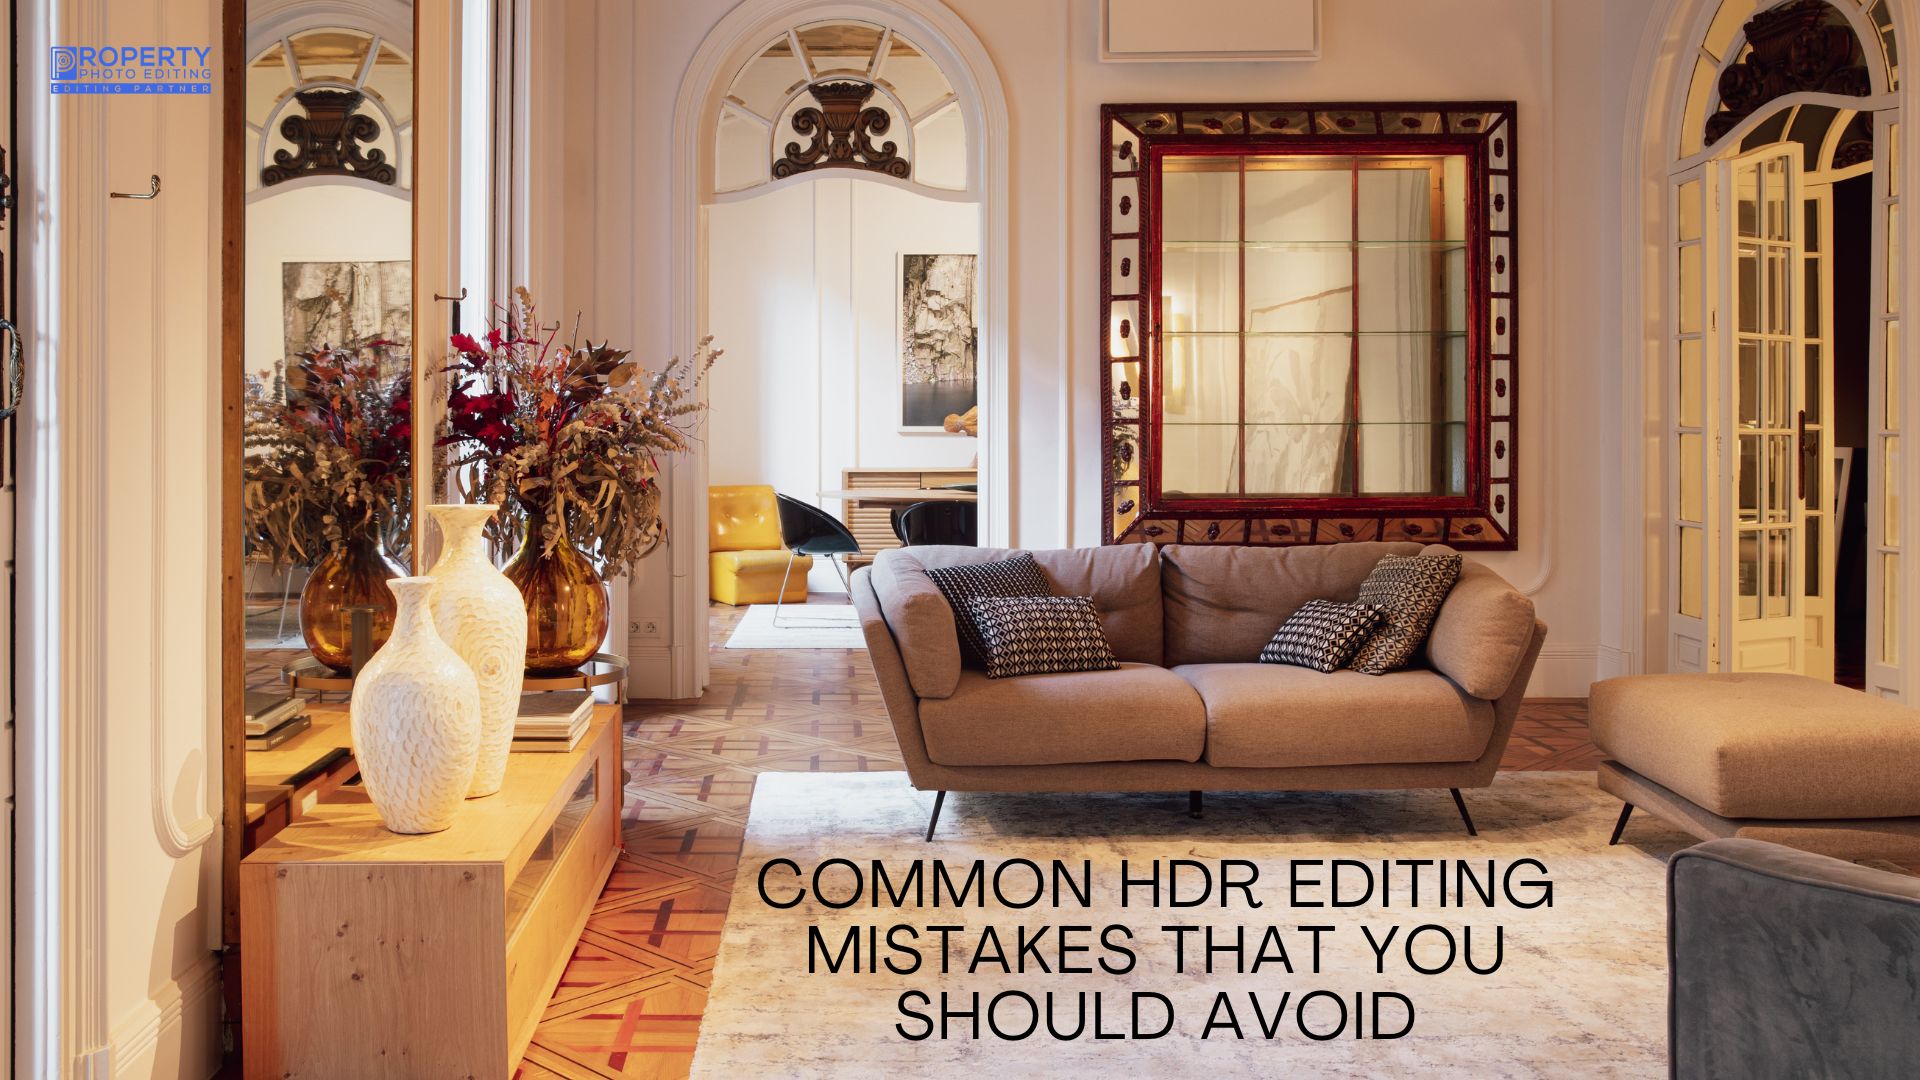
Walk into any real estate listing platform today, and you’ll notice something instantly: the photos that stop the scroll are almost always HDR. High Dynamic Range photography has become the industry standard for showcasing properties because it captures detail in both shadows and highlights that a single exposure simply can’t handle. But here’s the catch – HDR is a double-edged sword. Done right, it makes a living room glow with warmth and dimension. Done wrong, it looks like a cartoon rendered by someone who just discovered the saturation slider. In this guide, we’re breaking down the common HDR editing mistakes that quietly sabotage otherwise great listings, and how you can sidestep them entirely.
What Is HDR Photography?
Before we get into the mistakes, let’s quickly ground ourselves. HDR, or High Dynamic Range, is a technique where multiple photos of the same scene – typically shot at different exposure levels (underexposed, correctly exposed, and overexposed) – are blended together into a single image. The result is a photograph that retains detail in bright windows, dim corners, and everything in between, something a standard single-shot photo struggles to achieve, especially in real estate interiors with mixed lighting.
For agents and developers, this matters because buyers form an opinion within seconds of seeing a listing photo. A well-executed HDR image doesn’t just look nice; it communicates transparency, professionalism, and trust – three things that directly influence whether a buyer books a viewing or scrolls past.
1. Over-Processing the Image (The “Fake HDR” Look)
This is, without question, the most recognizable of all common HDR editing mistakes. You’ve seen it – halos around window frames, unnaturally glowing edges, and colors so punchy they look lifted from a video game rather than a real home.
- Excessive tone mapping creates artificial “glow” around high-contrast edges like doorframes and windows.
- Oversaturated colors make wood floors look orange and skies look neon blue instead of natural.
- Buyers subconsciously distrust images that look manipulated, even if they can’t articulate why.
The fix is restraint. Blend your exposures carefully, then dial back contrast and saturation until the image looks like a really good day rather than an alien landscape. Subtlety sells homes; gimmicks sell suspicion.
2. Ignoring White Balance Consistency
Here’s a mistake that’s easy to miss during editing but glaring once the buyer sees it: inconsistent white balance across a single listing’s photo set. One room reads warm and yellow, the next reads cool and blue, and suddenly your beautifully staged property feels disjointed.
Why This Happens
Mixed lighting sources – tungsten bulbs, daylight through windows, LED fixtures – throw off color temperature differently in each bracket exposure. Without correcting for this during HDR merging, your final images inherit those inconsistencies.
Always calibrate white balance against a neutral reference point, like a white wall or ceiling, before finalizing edits. Consistency across an entire gallery makes the property feel cohesive, well-maintained, and genuinely move-in ready.
Read Also: 10 Best Tools for HDR Real Estate Photo Editing
3. Neglecting Proper Bracket Alignment
Among the more technical yet frequent common HDR editing mistakes, poor bracket alignment ranks high. If your camera moved even slightly between exposures – a common issue with handheld shots or tripod vibration – you’ll end up with ghosting artifacts, blurred edges, or double outlines around furniture and fixtures.
- Always use a sturdy tripod and a remote shutter or timer to eliminate camera shake between brackets.
- Check for moving elements like ceiling fans, curtains, or pets, which cause ghosting regardless of tripod stability.
- Use your editing software’s auto-align feature, then manually inspect edges at 100% zoom before exporting.
A misaligned HDR blend is one of those errors that’s obvious to a trained eye but often slips past agents in a hurry. Slowing down at this stage saves you from re-shoots later.
4. Losing Detail in Highlights and Shadows
Ironically, one of the most common HDR editing mistakes defeats the entire purpose of shooting HDR in the first place. If your final image still has blown-out windows or pitch-black corners, you haven’t actually captured the dynamic range you set out to preserve.
Common Culprits
This usually happens when photographers don’t bracket enough exposures, or when the tone-mapping software compresses the range too aggressively during processing, flattening detail instead of revealing it.
Shoot at least three to five brackets in high-contrast rooms, and check your histogram before editing. A balanced histogram, without heavy clipping on either end, is your best indicator that the HDR process actually did its job.
5. Skipping Perspective and Lens Correction
Wide-angle lenses are a real estate photographer’s best friend, but they distort straight lines, making walls appear to lean and ceilings look warped. Many editors get so focused on tone mapping that they forget this crucial correction step entirely.
- Vertical lines like door frames and window edges should appear perfectly straight, not converging or bowing.
- Barrel distortion from ultra-wide lenses needs correcting before HDR merging, not after, for cleaner results.
- Uncorrected perspective subtly signals amateur photography, even when the lighting and color work is flawless.
Most editing suites now offer one-click lens correction profiles matched to specific camera and lens combinations. Use them. This single step elevates a decent photo into one that looks architecturally accurate and genuinely professional.
Why Getting This Right Matters for Your Listings
Real estate is a visual business first and a relationship business second. Buyers scroll through dozens of listings before they ever pick up the phone, and photo quality is often the deciding factor in whether yours gets a second glance. Avoiding these common HDR editing mistakes isn’t just a technical nicety, it’s a competitive advantage.
That said, mastering HDR editing takes time, the right software, and a genuinely trained eye for what looks natural versus what looks forced. That’s exactly why many agents, developers, and colonizers now outsource this work to specialized real estate HDR photo editing services, which combine editing expertise with an understanding of what actually converts browsers into buyers.
Conclusion
HDR photography, when handled with care, can transform an ordinary property into a listing that buyers can’t stop looking at. But the margin between “stunning” and “overdone” is thinner than most people realize. By avoiding over-processing, maintaining white balance consistency, aligning your brackets properly, preserving genuine highlight and shadow detail, and correcting perspective distortion, you’ll consistently produce images that feel authentic, polished, and trustworthy. In a market where first impressions happen through a screen, that difference is what separates listings that sit stagnant from ones that sell fast.
Frequently Asked Questions
1. What makes HDR photography different from regular real estate photography?
HDR blends multiple exposures into one image, capturing detail in both bright windows and dark corners that a single standard photo typically cannot balance simultaneously.
2. How many bracket exposures should I shoot for real estate HDR?
Most professionals recommend three to five brackets per scene, especially in rooms with strong contrast between window light and interior shading.
3. Can HDR editing mistakes actually hurt a property’s sale potential?
Yes. Over-processed or unnatural-looking photos can make buyers subconsciously distrust a listing, leading to fewer inquiries and longer time on market.
4. Is it better to edit HDR photos in-house or outsource them?
It depends on volume and expertise. Many agents outsource to professional editing services to ensure consistent quality without investing in specialized software training.
5. What software is commonly used for real estate HDR editing?
Popular choices include Adobe Lightroom, Photomatix, Aurora HDR, and Photoshop, each offering tone-mapping and blending tools suited for property photography.