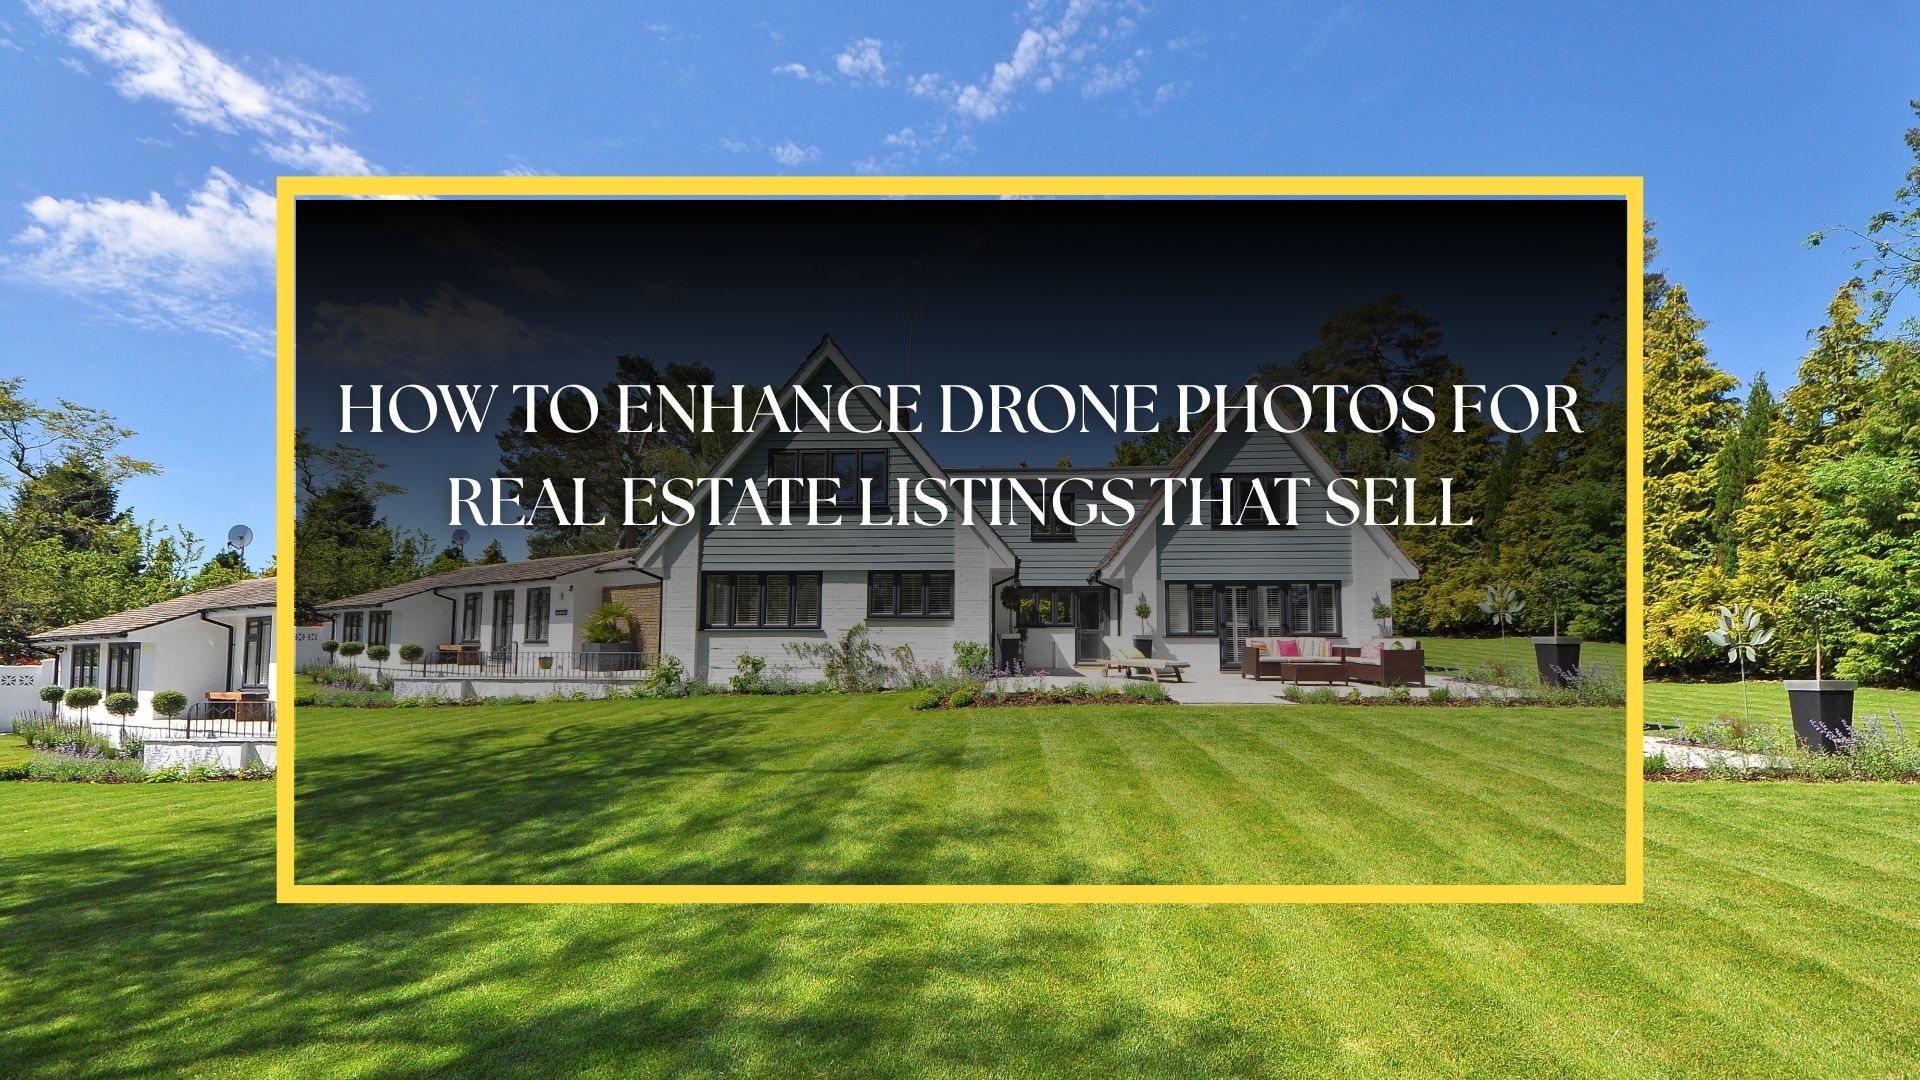
Walk into any competitive housing market today, and you’ll notice something: the listings that get clicks aren’t just well-priced, they’re visually irresistible. Buyers scroll fast, and a flat, poorly lit aerial shot won’t stop their thumb. That’s exactly why learning how to enhance drone photos for real estate listings has become a non-negotiable skill for agents, developers, and colonizers who want their properties to stand out rather than blend into an endless feed of mediocre images.
Drone photography already gives you an edge – it shows scale, layout, and surroundings that ground-level shots simply can’t capture. But raw footage straight off the drone rarely tells the full story. Enhancement is what turns a decent aerial shot or aerial photo editing into a scroll-stopping, inquiry-generating asset.
Why Enhanced Drone Photos Directly Impact Sales
Property buyers form an opinion within seconds of seeing a listing photo. Dull skies, uneven exposure, or distracting clutter in the frame quietly push potential buyers toward the next listing on their screen.
Enhanced images do more than look pretty. They build trust, communicate professionalism, and help buyers visualize themselves owning the space – long before they ever schedule a site visit.
- Listings with high-quality aerial images receive significantly more views and inquiries.
- Buyers associate polished visuals with well-maintained, higher-value properties.
- Enhanced photos reduce time-on-market by creating stronger first impressions.
How to Enhance Drone Photos for Real Estate Listings: The Core Techniques
If you’re wondering exactly how to enhance drone photos for real estate listings, it comes down to a handful of editing principles that professionals apply consistently, rather than random filter experimentation.
1. Correct Exposure and Balance Lighting
Drone cameras often struggle with harsh sunlight or shadowed patches across a property. Adjusting exposure, highlights, and shadows ensures every corner of the frame is visible and appealing.
2. Enhance Sky and Landscape Colors
A washed-out sky or dull lawn can make even a beautiful property look uninviting. Subtle color grading – deeper blues, richer greens – adds vibrancy without looking artificial or overdone.
3. Straighten Lines and Fix Perspective Distortion
Wide-angle drone lenses can bend roads, boundaries, and building edges. Perspective correction keeps property lines crisp and geometrically accurate, which matters for developers showcasing plots.
4. Remove Distractions
Parked vehicles, construction debris, stray wires, or neighboring clutter pull attention away from the property itself. Clean editing removes these distractions so the focus stays exactly where it should.
5. HDR Blending for Balanced Detail
Combining multiple exposures through HDR blending captures detail in both bright skies and shaded ground areas, producing a naturally balanced, magazine-quality final image.
6. Add Property Boundary Overlays
For plots, farmhouses, or development land, overlaying clear boundary lines on the aerial shot helps buyers instantly understand what they’re actually purchasing.
Read Also– Drone Video Editing for Real Estate: Tips to Make Aerial Footage Look Cinematic
Advanced Enhancement Strategies for Competitive Listings
Once the basics are covered, a few advanced techniques separate ordinary listings from truly premium presentations.
- Twilight conversion: Transforming a daytime shot into a warm, glowing dusk scene, adding emotional appeal without needing an actual evening shoot.
- Sky replacement: Swapping overcast or flat skies with dramatic, clear ones to elevate mood and visual impact instantly.
- Panoramic stitching: Merging multiple drone frames into one expansive view, ideal for showcasing large estates, resorts, or township projects.
- Video-to-photo extraction: Pulling crisp still frames from drone video footage and enhancing them for use across print and digital marketing.
These techniques require both technical precision and creative judgment – knowing when an edit enhances realism versus when it crosses into misleading territory.
Should You Edit In-House or Outsource?
Many agents attempt basic edits using mobile apps, and for casual listings, that might suffice. But for developers and agencies managing dozens of properties monthly, consistency and turnaround time become real challenges.
This is where professional Real Estate Aerial Photo Editing Services genuinely make a difference. Dedicated editors understand lighting nuances, buyer psychology, and platform-specific formatting requirements that in-house teams often lack the bandwidth to master.
Partnering with an experienced Real Estate Aerial Photo Editing Company also ensures brand consistency across every listing – same color tones, same quality standards, same polished look that builds long-term buyer trust in your portfolio.
For larger firms handling township launches or multi-property portfolios, Real Estate Aerial Image Editing Services offer scalable turnaround without compromising on quality, freeing your team to focus on closing deals instead of editing pixels.
Practical Tips Before You Even Start Editing
Good enhancement starts with good capture. No amount of editing fully compensates for poorly shot footage, so keep these fundamentals in mind during the shoot itself.
- Shoot during golden hour for naturally warmer, softer lighting conditions.
- Capture multiple angles and altitudes to give editors more flexibility later.
- Avoid shooting directly into the sun to prevent lens flare and overexposure.
- Always shoot in RAW format for maximum editing latitude and detail retention.
Bringing It All Together
Mastering how to enhance drone photos for real estate listings isn’t about chasing trends or over-processing images until they look artificial. It’s about presenting properties honestly, vibrantly, and in a way that respects both the buyer’s imagination and the seller’s investment.
Whether you handle editing yourself or bring in professional help, the goal remains the same: images that make people stop scrolling, start imagining, and pick up the phone to inquire.
Conclusion
Aerial photography has redefined how properties get marketed, but unedited drone shots rarely reach their full potential. Thoughtful enhancement – correcting light, removing distractions, and adding polish – transforms ordinary footage into listings that genuinely sell.
As competition in real estate marketing intensifies, agents and developers who invest in quality visuals consistently outperform those who don’t. The extra effort in post-processing isn’t a luxury anymore; it’s simply how modern listings win attention.
Frequently Asked Questions
1. What’s the biggest mistake people make when editing drone photos for listings?
Over-editing is the most common issue. Excessive saturation or unrealistic sky replacements can make buyers distrust the listing once they visit in person, so subtlety matters more than dramatic transformation.
2. How long does professional aerial photo editing typically take?
Turnaround usually ranges from 24 to 48 hours depending on the volume of images and complexity of edits, such as twilight conversion or panoramic stitching requests.
3. Can drone photos be enhanced without expensive software?
Yes, basic corrections like exposure and color balance can be done with affordable or free tools, though advanced techniques like HDR blending benefit from professional-grade editing software.
4. Is it ethical to edit drone photos for real estate marketing?
Absolutely, as long as edits enhance accuracy and appeal without misrepresenting the actual property, lighting, or surroundings that buyers will encounter during a site visit.
5. Do enhanced drone photos really increase buyer inquiries?
Yes, professionally enhanced aerial images consistently generate higher engagement, more clicks, and increased inquiries compared to unedited or poorly lit drone footage in listings.